Safety Precautions
Always read the manual before use. Ensure proper electrical connections and avoid using damaged cords. Use only original Jura parts to prevent machine damage. Keep children away and avoid touching hot surfaces. Follow water hardness guidelines to prevent scaling. Regular descaling is essential for optimal performance and longevity.
1.1 Electrical Safety
Ensure the machine is plugged into a grounded outlet; Never use a damaged power cord, as it poses a risk of electric shock. Avoid exposing the machine to water or moisture. Keep cords away from hot surfaces. Unplug the machine during cleaning or maintenance. Always verify the correct voltage matches your region to prevent damage. Follow all electrical safety guidelines to ensure safe operation.
1.2 Water Hardness Guidelines
Water hardness exceeding 10 dH can damage the machine. Use a CLEARYL filter cartridge to prevent scaling. Ensure water quality aligns with Jura recommendations. Excessive hardness leads to mineral buildup, affecting performance. Regularly check and maintain water hardness levels to prolong machine longevity. Proper water care ensures optimal brewing results and prevents maintenance issues.
Setting Up the Machine
Unpack and inspect the machine for damage. Place it on a stable, level surface. Connect to a power source and fill the water tank with fresh water. Insert the filter cartridge if required. Follow the on-screen instructions for initial setup, including language and water hardness settings. Ensure all components are securely locked before first use.
2.1 Unpacking and Initial Inspection
Open the box carefully and verify all components are included as per the packing list. Inspect the machine for any visible damage or scratches. Ensure the power cord, water tank, and filter cartridge are present. Place the machine on a stable, level surface. Check the bean container, brew group, and drip tray for proper alignment. Refer to the user manual for detailed unpacking instructions before proceeding.
2.2 Placing the Machine
Position the machine on a flat, stable surface, ensuring proper ventilation. Maintain a distance of at least 4 inches from walls or other objects to prevent overheating. Avoid placing it near direct sunlight, moisture, or extreme temperatures. Ensure the power cord can reach a grounded outlet without stretching. The machine should be level to ensure proper water flow and operation. Follow placement guidelines in the manual for optimal performance.
2.3 Filling the Water Tank
Filling the water tank is essential for proper machine operation. Remove the tank from the machine and fill it with fresh, cold water. Ensure the water level does not exceed the maximum mark. Avoid using distilled or softened water, as it may affect taste. If your water hardness exceeds 10 dH, consider using a filter cartridge to prevent scaling. Replace the tank securely before brewing.
2.4 Inserting the Filter Cartridge
Open the filter holder by turning it counterclockwise. Remove the protective cap from the new CLEARYL Smart filter cartridge. Align the cartridge with the holder and insert it gently until it clicks. Close the filter holder securely. If your water hardness exceeds 10 dH, using the filter is recommended to prevent scaling. Follow the on-screen prompts to confirm installation.
Understanding the Machine Components
The machine features a display, control panel, bean container, grinder, brew group, and drip tray. Each part is designed for specific functions to ensure optimal performance.
3.1 Display and Control Panel
The display provides clear instructions and status updates. The control panel features intuitive buttons for selecting coffee options. Use the menu to customize settings like strength and cup size. Icons indicate when maintenance is needed, such as descaling or refilling beans. Touch-sensitive controls ensure easy navigation and a seamless user experience.
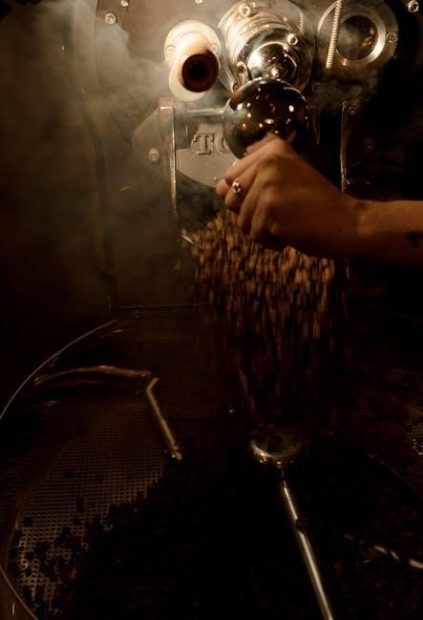
3.2 Bean Container and Grinder
The bean container holds coffee beans for fresh grinding. Use only roasted, untreated beans for optimal flavor. The built-in grinder adjusts coarseness automatically based on selected settings. Ensure the container is clean and dry before refilling. Avoid overfilling to maintain grind quality. Regularly clean the grinder to prevent oil buildup and flavor transfer between brews.
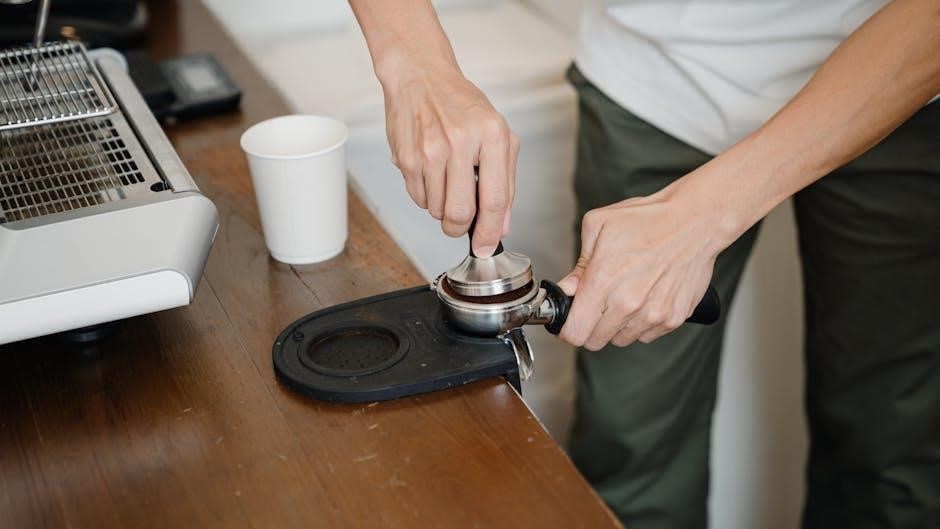
3.3 Brew Group and Drip Tray
The brew group is essential for precise espresso extraction. Ensure it is clean and free from old coffee oils. The drip tray collects excess water and coffee grounds. Empty and clean it regularly to prevent overflow and maintain hygiene. Use a soft cloth to wipe the brew group and avoid harsh chemicals. Proper care ensures optimal flavor and machine longevity.
Operating the Machine
Turn on the machine, select your desired coffee settings, and start brewing. Use the control panel to adjust strength and volume. For milk-based drinks, activate the frother.
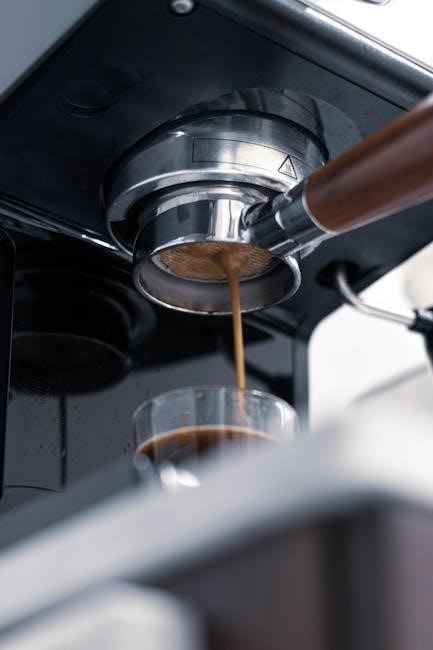
4.1 Brewing Coffee
Turn on the machine and ensure it is preheated. Select your preferred coffee option using the control panel. Choose the strength, cup size, and start brewing. The machine grinds the beans and brews automatically. Use fresh, roasted coffee beans and filtered water for the best taste. Adjust settings as needed for personalized results.
4.2 Adjusting Coffee Strength and Volume
Use the control panel to adjust coffee strength by selecting from multiple levels. Choose your preferred cup size for volume customization. The machine automatically grinds and brews according to your settings. For stronger coffee, opt for a finer grind or darker roast beans. Adjustments are saved for future use, ensuring consistent results. Experiment with settings to tailor your coffee experience to your taste preferences.
4.3 Using the Milk Frother
Fill the milk container with fresh, cold milk to the recommended level. Select the froth setting on the control panel. Place a cup under the frother nozzle. The machine will heat and froth the milk to your desired consistency. For cappuccinos, use the automatic frothing feature. Clean the frother regularly to prevent milk residue buildup. Refer to the manual for specific milk frother maintenance tips.

Maintenance and Cleaning
Perform daily cleaning of the brew group and drip tray. Regularly descale the machine based on water hardness. Use Jura-approved cleaning products for optimal performance and hygiene. Empty and rinse the water tank frequently to prevent mineral buildup. Follow the manual’s guidelines for deep cleaning cycles to ensure longevity and quality brews.
5.1 Daily Cleaning Routine
Perform daily cleaning by removing and rinsing the brew group, drip tray, and grinds container. Wipe surfaces with a damp cloth and ensure all parts are dry. Run a cleaning cycle if indicated by the machine. Regularly check and refill the water tank, and empty it if not used for an extended period. This routine maintains hygiene and ensures optimal machine performance.
5.2 Descaling the Machine
Descaling is essential to remove mineral buildup. Use Jura-approved descaling tablets or solution. Activate the descaling mode via the control panel, then run the solution through the machine. Rinse thoroughly with fresh water afterward. Regular descaling ensures optimal performance and prevents damage. Follow the manual’s guidelines for frequency based on water hardness and usage.
5.3 Emptying and Cleaning the Brew Group
Regularly clean the brew group to prevent old coffee oils and residue buildup. After each use, rinse the brew group with fresh water. Perform a deep clean weekly by soaking it in warm water and mild detergent. Ensure all parts are dry before reassembling. Refer to the PDF manual for specific instructions tailored to your Jura model for optimal maintenance and hygiene.
Troubleshooting Common Issues
Refer to the error message guide in the manual for solutions. Common issues include descaling needs, coffee strength problems, and temperature inconsistencies. Regular maintenance resolves most faults.
6.1 Error Messages and Solutions
Common error messages include “CLEAN MACHINE” or “COFFEE STRENGTH.” These indicate maintenance needs like cleaning the brew group or adjusting settings. “MACHINE CALCIFIED” signals descaling is required. Refer to the manual for specific solutions, such as running descaling cycles or resetting settings. Regular maintenance prevents faults and ensures optimal performance. Always use Jura-approved products for descaling to avoid damage.
6.2 Coffee Quality Problems
If your coffee tastes weak or strong, check the grind size and coffee quantity. Ensure the brew group is clean, as residue can affect flavor. Incorrect water hardness may also impact taste. Regular descaling and cleaning are essential. Use fresh, high-quality beans for optimal results. Refer to the manual for troubleshooting guides to resolve issues and maintain consistent coffee quality.

Accessories and Additional Features
The Jura Cool Control chills beverages to 4°C. The Fine Foam Frother creates perfect milk foam, while the Thermal Milk Container keeps milk fresh for hours. Essential accessories for enhanced coffee experiences.
7.1 Jura Cool Control
The Jura Cool Control is a sleek accessory designed to chill beverages to the ideal temperature of 4°C. Compatible with various Jura coffee machines, it ensures your drinks remain perfectly cooled. Its compact design and easy operation make it a convenient addition to your coffee setup, enhancing your overall brewing experience with minimal space required.
7.2 Jura Fine Foam Frother
The Jura Fine Foam Frother is a versatile accessory designed for creating perfect milk foam. Easy to use and clean, it ensures a creamy texture for cappuccinos and lattes. Compatible with various Jura coffee machines, it allows you to adjust foam consistency and temperature. The frother works with both dairy and plant-based milks, delivering professional-quality results with minimal effort, enhancing your coffee experience significantly.
7.3 Thermal Milk Container
The Thermal Milk Container is designed to maintain optimal milk temperature for frothing. Compatible with Jura coffee machines, it ensures consistent froth quality. Its insulated design keeps milk at the right temperature, enhancing the flavor and texture of your coffee drinks. Easy to clean and durable, it’s a practical accessory for coffee enthusiasts seeking professional results at home.
Advanced Customization Options
Customize your coffee experience with adjustable strength and volume settings. Tailor drink preferences via the intuitive interface. Regular software updates ensure enhanced functionality and new features.
8.1 Customizing Drink Settings
Easily customize coffee strength and volume to suit your taste. Adjust brewing parameters via the control panel. Save preferences for quick access. Experiment with different settings to perfect your favorite drinks. Regular updates ensure compatibility with new features. Tailor each beverage to enhance your coffee experience.
8.2 Updating Machine Software
Regular software updates ensure optimal performance and new features. Access the update option via the machine’s settings menu. Use a USB drive for updates or connect directly to Jura’s server. Follow on-screen instructions carefully. Restart the machine after completion. Updates enhance functionality, improve compatibility, and add customization options. Refer to the manual for detailed steps and troubleshooting tips.
Downloading the User Manual
Visit the official Jura website, select your machine model, and download the PDF manual. Manuals for models like Impressa A1, A5, and C5 are readily available online.
9.1 Finding the Correct Manual for Your Model
To find the correct manual, visit the official Jura website and select your specific coffee machine model from the dropdown menu. Popular models like Impressa A1, A5, and C5 are listed. Ensure you match your machine’s exact name or series number. Manuals are available in PDF format for easy download, providing detailed instructions tailored to your device’s features and operation.
9.2 Accessing PDF Manuals Online
Visit the official Jura website to access PDF manuals for your specific coffee machine model. Use the dropdown menu to select your device, such as Impressa A1 or C5. Once selected, download the PDF manual, which includes detailed instructions, troubleshooting guides, and maintenance tips tailored to your machine. This ensures you have accurate information for optimal use and care of your Jura coffee maker.
By following this manual, you can fully utilize your Jura coffee machine’s features, ensuring a perfect brewing experience. Regular maintenance, proper usage, and adherence to guidelines will extend the machine’s lifespan and performance. Explore customization options and accessories to enhance your coffee-making journey. Happy brewing!