
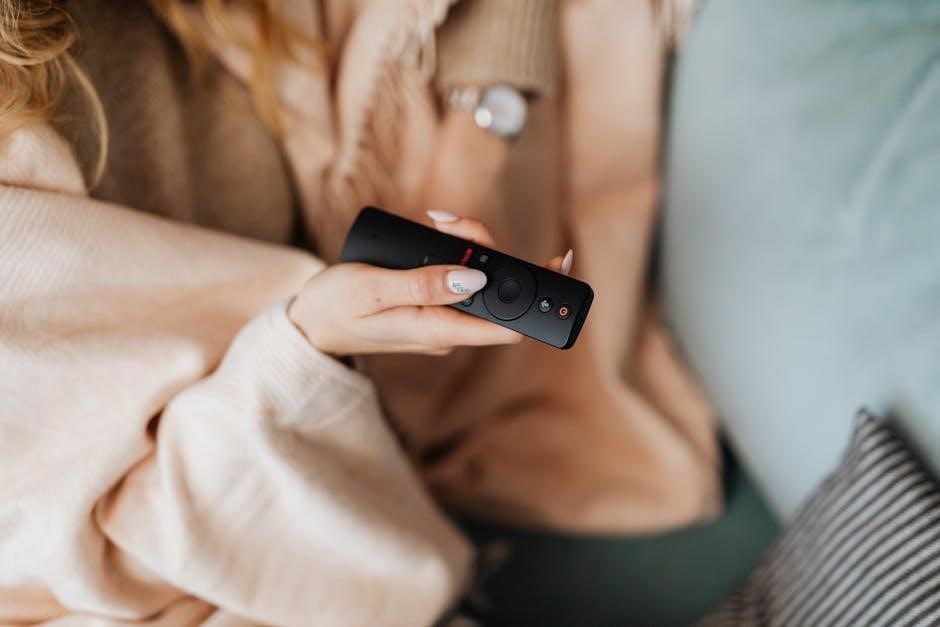
A Hunter ceiling fan remote control offers convenient operation‚ allowing easy adjustment of fan speed‚ direction‚ and lighting from a distance‚ enhancing comfort and efficiency in any room.

1.1 Benefits of Using a Remote Control for Ceiling Fans
Using a remote control for ceiling fans offers unparalleled convenience‚ allowing seamless adjustment of speed and lighting without physical effort. It enhances energy efficiency by enabling precise control over fan operations. Additionally‚ it provides accessibility for individuals with mobility challenges and streamlines room aesthetics by eliminating visible pull chains. This modern solution elevates comfort and functionality‚ making it a valuable upgrade for any home.
1.2 Overview of Hunter Ceiling Fan Remote Control Models
Hunter offers a variety of remote control models‚ such as the 99372 and 99770‚ designed to integrate seamlessly with their ceiling fans. These models provide essential functions like speed adjustment‚ light control‚ and fan direction reversal. Some remotes feature advanced settings for customizing fan performance‚ ensuring compatibility with Hunter’s latest ceiling fan designs. Each model is tailored to enhance user experience while maintaining Hunter’s commitment to quality and innovation.
Pre-Installation Steps
Before installing‚ ensure the ceiling fan is powered off at the electrical panel. Understand the remote control system components and prepare the fan for a smooth installation process.
2.1 Understanding the Components of the Remote Control System
The Hunter ceiling fan remote control system consists of a remote transmitter‚ a receiver‚ and wiring. The receiver connects to the fan and light‚ while the remote sends signals to control speed‚ direction‚ and lighting. Understanding these components is crucial for proper installation and functionality. Ensure all parts are included and compatible with your specific fan model for seamless operation.
2.2 Preparing the Ceiling Fan for Remote Control Installation
Before installing the remote control‚ ensure the ceiling fan is powered off at the electrical panel. Remove the canopy to access the wiring and mounting bracket. Verify that the fan is properly earthed and that all connections are secure. If your fan has a light kit‚ ensure it is compatible with the remote control system. Prepare the wiring tails for connection to the receiver‚ following the manufacturer’s guidelines for compatibility and safety.
Installation Instructions
Begin by disconnecting power to the ceiling fan. Wire the remote receiver to the fan and light‚ ensuring proper connections. Install the receiver and connect the battery to the remote control. Mount the receiver securely and test all functions to ensure proper operation.
3.1 Wiring the Remote Control Receiver
Disconnect power to the ceiling fan at the main electrical panel. Wire the remote receiver by connecting the black wire to the brown wire and the white wire to the neutral. Ensure the fan and light are properly earthed. Connect the receiver to the fan and light using the provided wiring tails. Secure all connections and mount the receiver near the fan. Once wired‚ test the remote to ensure all functions operate correctly.
3.2 Connecting the Battery to the Remote Control
Open the remote’s battery compartment‚ typically located on the back‚ by removing any screws or clips. Insert the appropriate battery type‚ ensuring correct orientation of the terminals. Replace the compartment cover securely. Test the remote by pressing buttons to confirm functionality. Ensure the remote is paired with the ceiling fan’s receiver for proper operation. Always refer to the user manual for specific battery requirements and pairing instructions.
3.3 Mounting the Remote Control Receiver
Mount the remote control receiver near the ceiling fan‚ ensuring it is securely fastened. Turn off the power supply to the fan at the electrical panel. Remove the existing pull-chain switch and connect the receiver wires according to the manual. For most models‚ connect the black wire to the brown wire and the white wire to the neutral. Tighten all connections firmly and replace any covers. Refer to model-specific instructions for exact wiring details. Once mounted‚ test the remote to ensure proper functionality;
Pairing the Remote Control with the Ceiling Fan
Pairing the remote with your Hunter ceiling fan ensures seamless control. Reset the remote‚ then sync it with the receiver by pressing and holding specific buttons as instructed.
4.1 Resetting the Remote Control
To reset the Hunter ceiling fan remote‚ remove the batteries and press and hold the fan button while reinserting them. Release after a few seconds to complete the reset.
4.2 Syncing the Remote with the Ceiling Fan Receiver
To sync the remote with the ceiling fan receiver‚ turn off the fan using the wall switch and wait 5-10 seconds. Turn the power back on and immediately press and hold both the FAN and LIGHT buttons on the remote for 4 seconds. The remote will now be paired with the receiver‚ allowing full control over the fan’s functions.
4.3 Troubleshooting Pairing Issues
If the remote fails to pair‚ reset it by removing the battery and reconnecting it. Ensure the receiver is correctly wired and the fan is set to HIGH speed. Power cycle the fan by turning it off and on at the wall switch. If issues persist‚ check for signal interference or damaged components. Reinstalling the receiver may resolve advanced pairing problems. Always follow the manual for specific troubleshooting steps.

Operating the Remote Control
Operate your Hunter ceiling fan effortlessly with the remote‚ adjusting speed‚ light settings‚ and direction. Intuitive buttons ensure a seamless experience‚ enhancing comfort and convenience in your space.
5.1 Basic Functions of the Remote Control
The Hunter ceiling fan remote control offers essential functions for seamless operation. Adjust fan speed with high‚ medium‚ or low settings. Toggle the light on/off and dim brightness for ambiance. Reverse fan direction for seasonal airflow optimization. Use the buttons to cycle through settings effortlessly. These basic functions ensure precise control over your ceiling fan and light‚ enhancing comfort and convenience in any room.
5.2 Advanced Features and Custom Settings
Hunter ceiling fan remotes offer advanced features like timer settings‚ smart home integration‚ and custom scenes for tailored experiences. Program the fan to turn on/off or adjust speed automatically. Dimming lights to specific brightness levels enhances ambiance. Some models allow learning your preferences‚ optimizing airflow and lighting. These features provide a personalized experience‚ making your space more comfortable and energy-efficient with intuitive remote control capabilities.
5.3 Maintaining the Remote Control
Regularly clean the remote with a soft cloth to prevent dust buildup. Replace batteries when power weakens‚ ensuring correct polarity. Avoid exposure to moisture or extreme temperatures. Store the remote in a dry place when not in use. Check for firmware updates if applicable. Test buttons periodically to ensure functionality. Proper maintenance extends the remote’s lifespan and ensures reliable performance for your ceiling fan and lighting system.
Troubleshooting Common Issues
Identify issues like unresponsive remotes or erratic behavior. Check battery life‚ signal obstructions‚ and wiring connections. Resetting the remote or replacing it may resolve persistent problems.
Consult the manual for specific troubleshooting steps tailored to your model‚ ensuring optimal performance and addressing any operational irregularities effectively.
6.1 Remote Control Not Responding
If the remote control fails to respond‚ ensure the battery is properly installed and charged. Check for signal obstructions between the remote and receiver. Verify that the receiver is correctly wired to the fan and light kit. Reset the remote by pressing and holding the fan and light buttons simultaneously for four seconds. If issues persist‚ consult the user manual or contact Hunter support for assistance. Always ensure the fan’s power is cycled off and on at the electrical panel before retrying the remote.
6.2 Erratic Behavior of the Remote Control
If the remote control behaves unpredictably‚ check for interference from other devices or physical obstructions. Ensure the receiver is properly wired and the remote has a clear signal path. Reset the remote by pressing and holding the fan and light buttons for four seconds. Replace the battery if it’s weak or expired. Avoid signal-blocking materials near the receiver. If issues continue‚ consult the user manual or contact Hunter support for further assistance. Always ensure proper installation and pairing;
6.3 Lost or Damaged Remote Control
If your remote is lost or damaged‚ purchase a replacement from Hunter or an authorized retailer. Ensure the new remote is compatible with your ceiling fan model. Before use‚ pair the new remote with the receiver by following the pairing instructions in the manual. For a damaged remote‚ check if it’s under warranty for a possible replacement. Always verify compatibility to maintain optimal functionality and avoid pairing issues with your ceiling fan system.
Model-Specific Instructions
Hunter ceiling fan remotes vary by model‚ with specific instructions for installation and operation. Models like the 99372 and 99770 have unique pairing and wiring requirements outlined in their manuals.
7.1 Hunter 99372 Remote Control Instructions
The Hunter 99372 remote control requires pairing with the ceiling fan receiver. To pair‚ turn off the fan’s power‚ wait 5-10 seconds‚ and turn it back on. Press and hold both the FAN and LIGHT buttons for 4 seconds to sync the remote. For installation‚ wire the receiver to the fan and light‚ ensuring proper earthing. Follow the manual for specific wiring details and troubleshooting tips to ensure smooth operation.
7.2 Hunter 99770 Remote Control Instructions
The Hunter 99770 remote control offers seamless operation of your ceiling fan and light. For installation‚ disconnect power at the main panel and wire the receiver to the fan and light. Pairing involves turning off the fan’s power‚ waiting 5-10 seconds‚ and turning it back on. Press and hold the FAN and LIGHT buttons for 4 seconds to sync; Refer to the manual for detailed wiring diagrams and troubleshooting tips to ensure optimal performance.

Safety Precautions
Always disconnect power at the main electrical panel before installation. Ensure proper earthing of the fan and light. Avoid common installation mistakes‚ and follow all safety recommendations to prevent electrical hazards and ensure safe operation.
8.1 Electrical Safety Tips
Always disconnect power at the main electrical panel before starting any installation or repair. Ensure the fan and light are properly earthed to avoid electrical shocks. Never work with live wires‚ and use insulated tools. Keep the area dry to prevent electrical hazards. Follow all safety guidelines provided in the manual and seek professional help if unsure. This ensures safe and reliable operation of your Hunter ceiling fan remote control system.
8.2 Avoiding Common Installation Mistakes
To ensure a smooth installation‚ avoid common errors like incorrect wiring connections or forgetting to pair the remote with the receiver. Always turn off power at the main electrical panel before starting. Follow the manual’s wiring diagrams carefully‚ and double-check connections to prevent faulty operation. Properly syncing the remote and receiver is crucial for reliable performance. Taking these steps helps avoid issues and ensures your Hunter ceiling fan remote control works seamlessly.
With proper installation and maintenance‚ your Hunter ceiling fan remote control will provide years of convenient and efficient operation‚ enhancing your home’s comfort and ambiance effortlessly.
9.1 Final Tips for Optimal Performance
For optimal performance‚ regularly clean the remote and receiver‚ check battery levels‚ and ensure proper installation. Periodically sync the remote with the fan receiver‚ especially after power outages. Avoid exposing the remote to extreme temperatures or moisture. Always refer to the specific model’s manual for tailored advice. By following these tips‚ you’ll maintain seamless control and extend the lifespan of your Hunter ceiling fan remote control system.